| Quantity | 3+ units | 10+ units | 30+ units | 50+ units | More |
|---|---|---|---|---|---|
| Price /Unit | $66.10 | $64.75 | $62.73 | $60.03 | Contact US |
 SF-HC30A3 Flame Plasma Dual-purpose Torch Height Controller Plasma THC for CNC Plasma Cutting Machines
$362.59
 CM600 6-Axis CNC Motion Controller Board DC24V 24 Inputs and 18 Outputs with Display for CNC 3D Real-time Motion Tracking
$956.76
 CM400 4-Axis CNC Motion Controller Board DC24V 16 Inputs and 12 Outputs with Display for CNC 3D Real-time Motion Tracking
$490.36
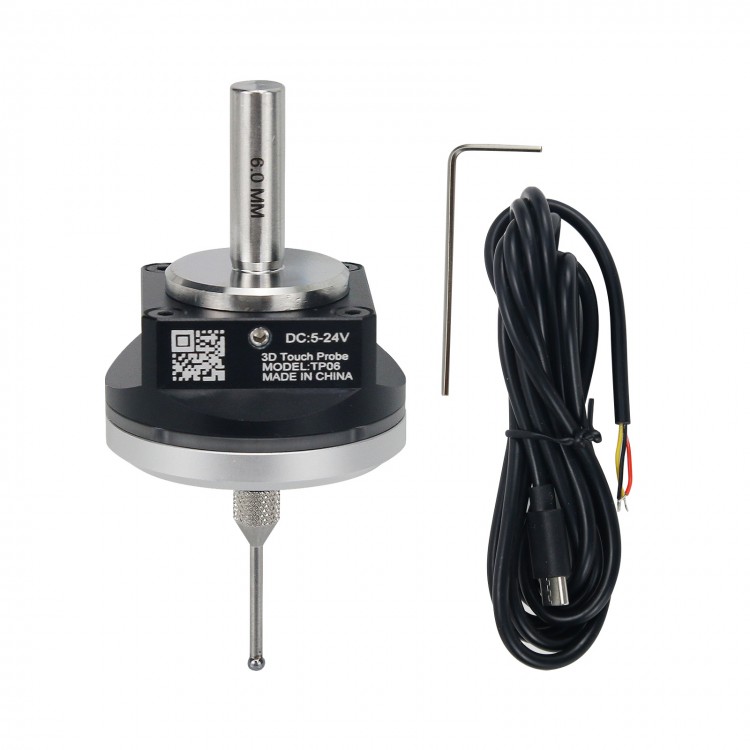
6mm-NC V6 3D Edge Finder Touch Probe Edge Finder Precise CNC Probe Compatible with MACH3 and GRBL
Description:
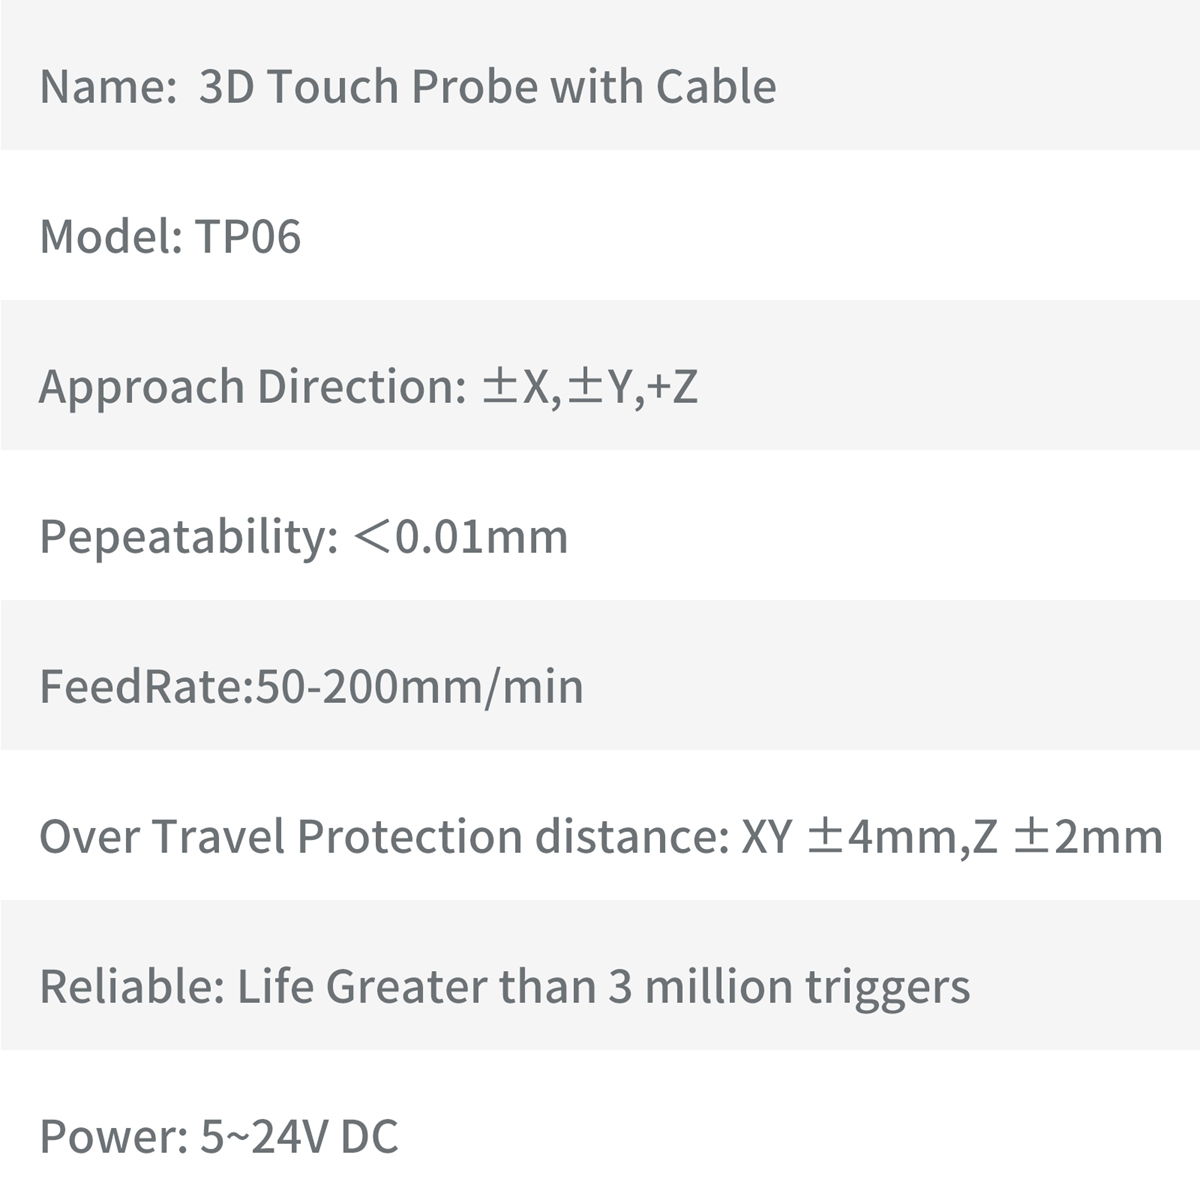
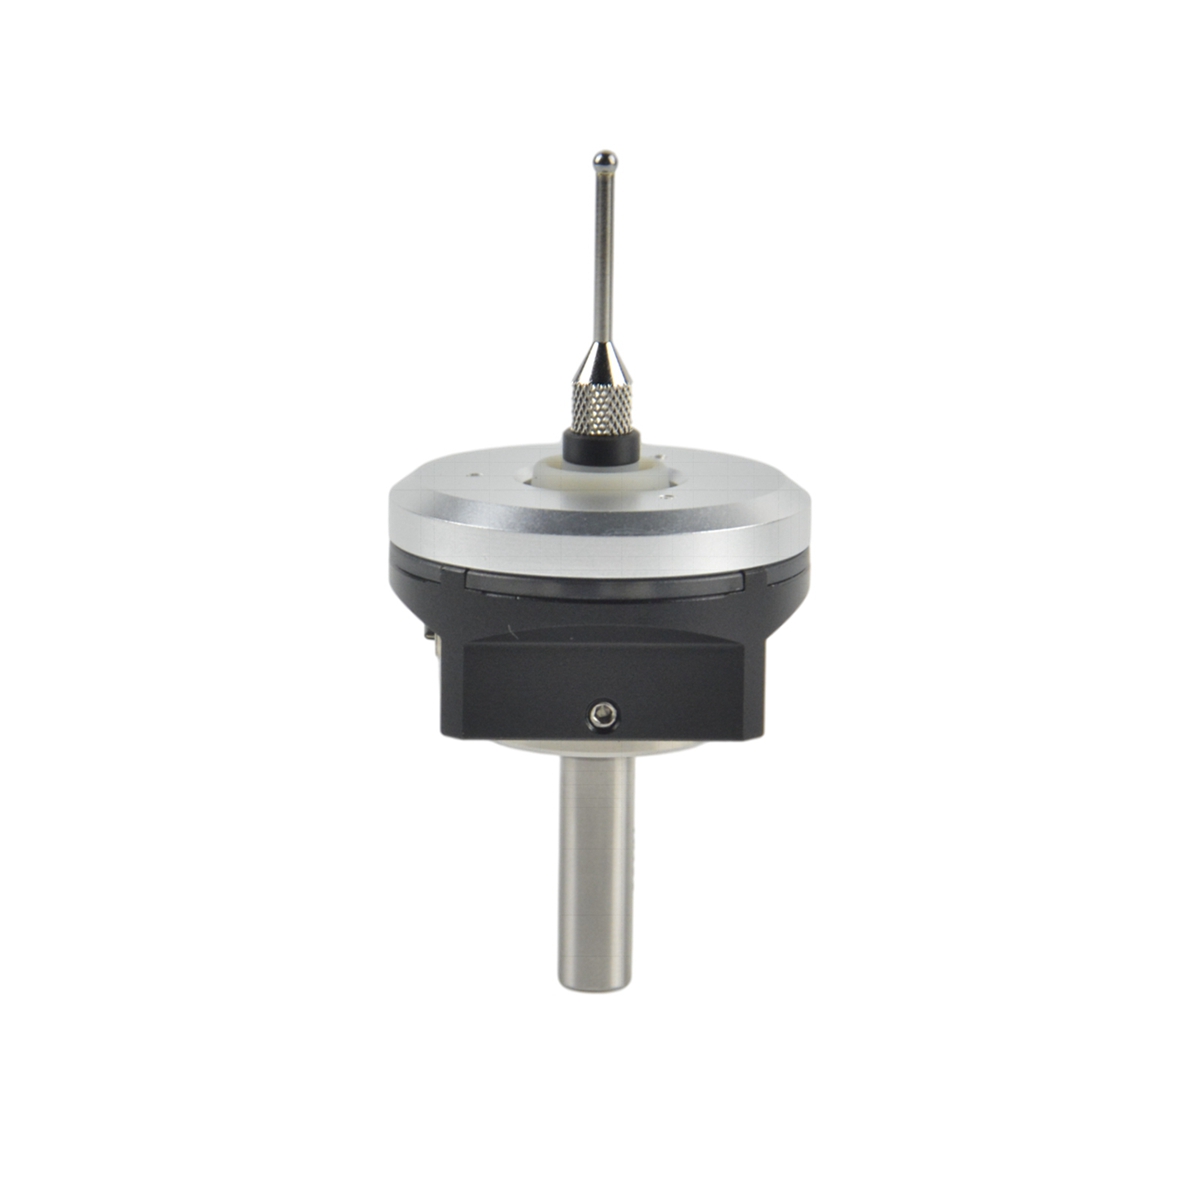
- The three-coordinate probe can realize quick centering, edge finding, center finding, shape measurement and other functions by connecting the CNC to the knife edge, which greatly solves the trouble of positioning the work-piece during the second clamping during the machining process.
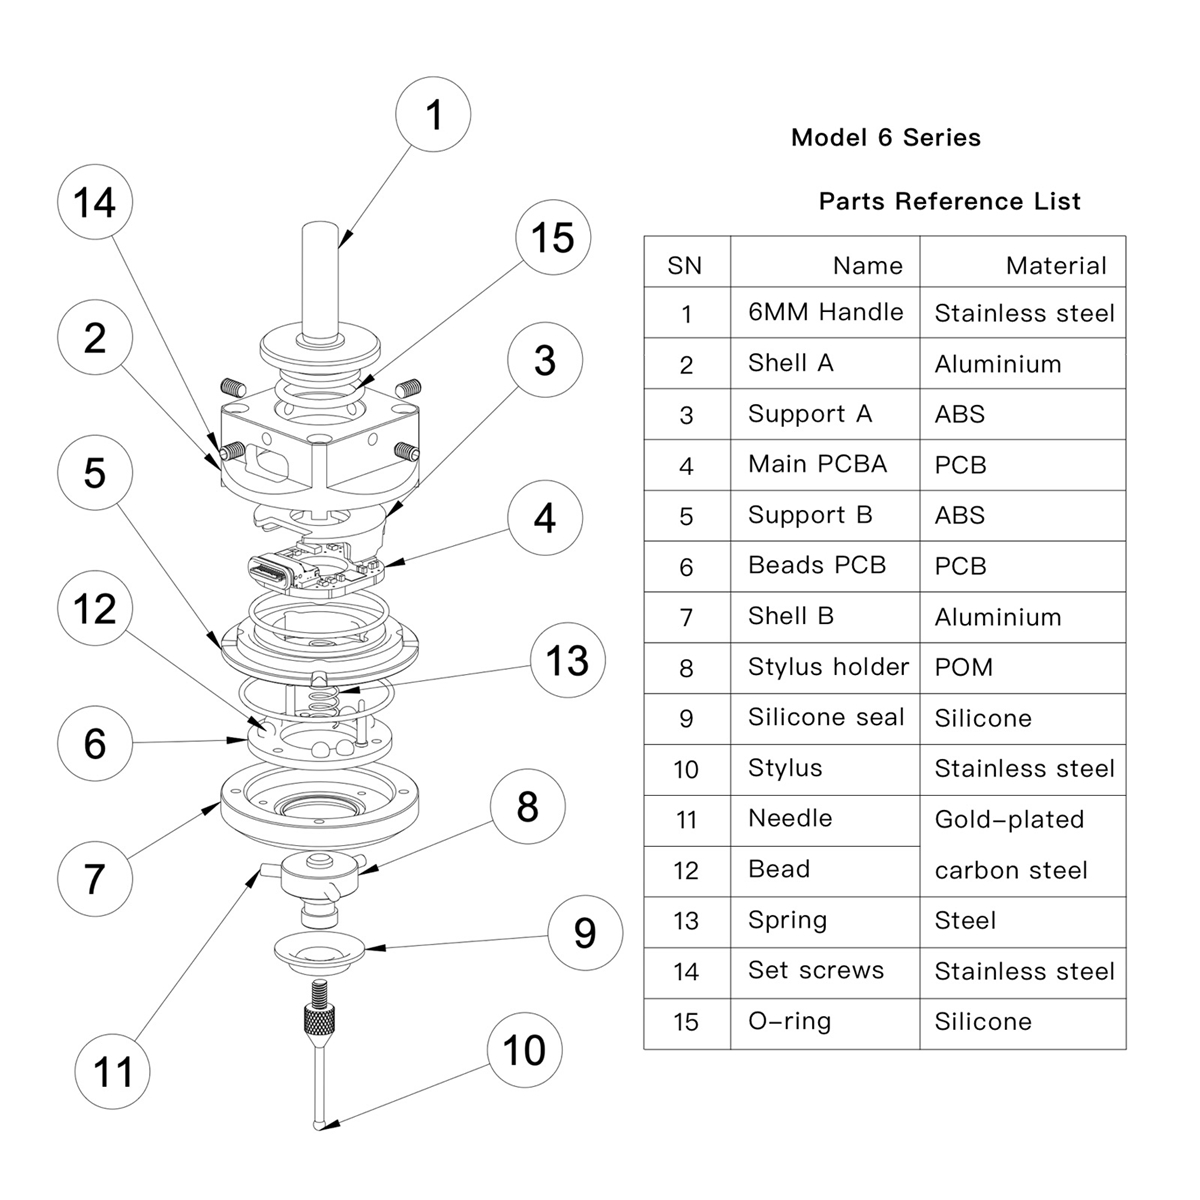
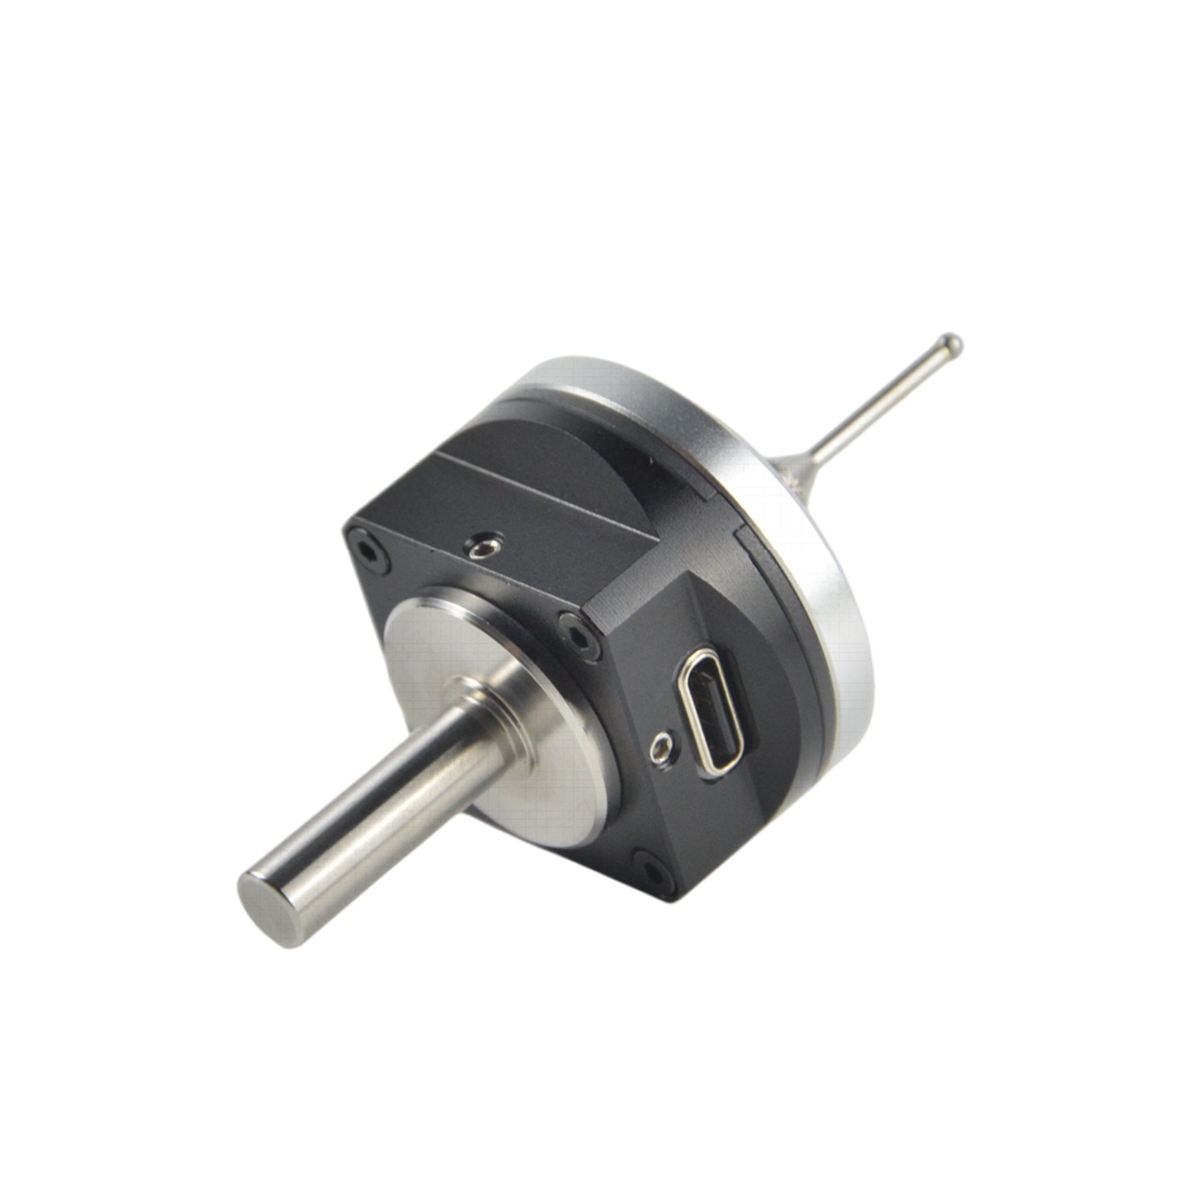
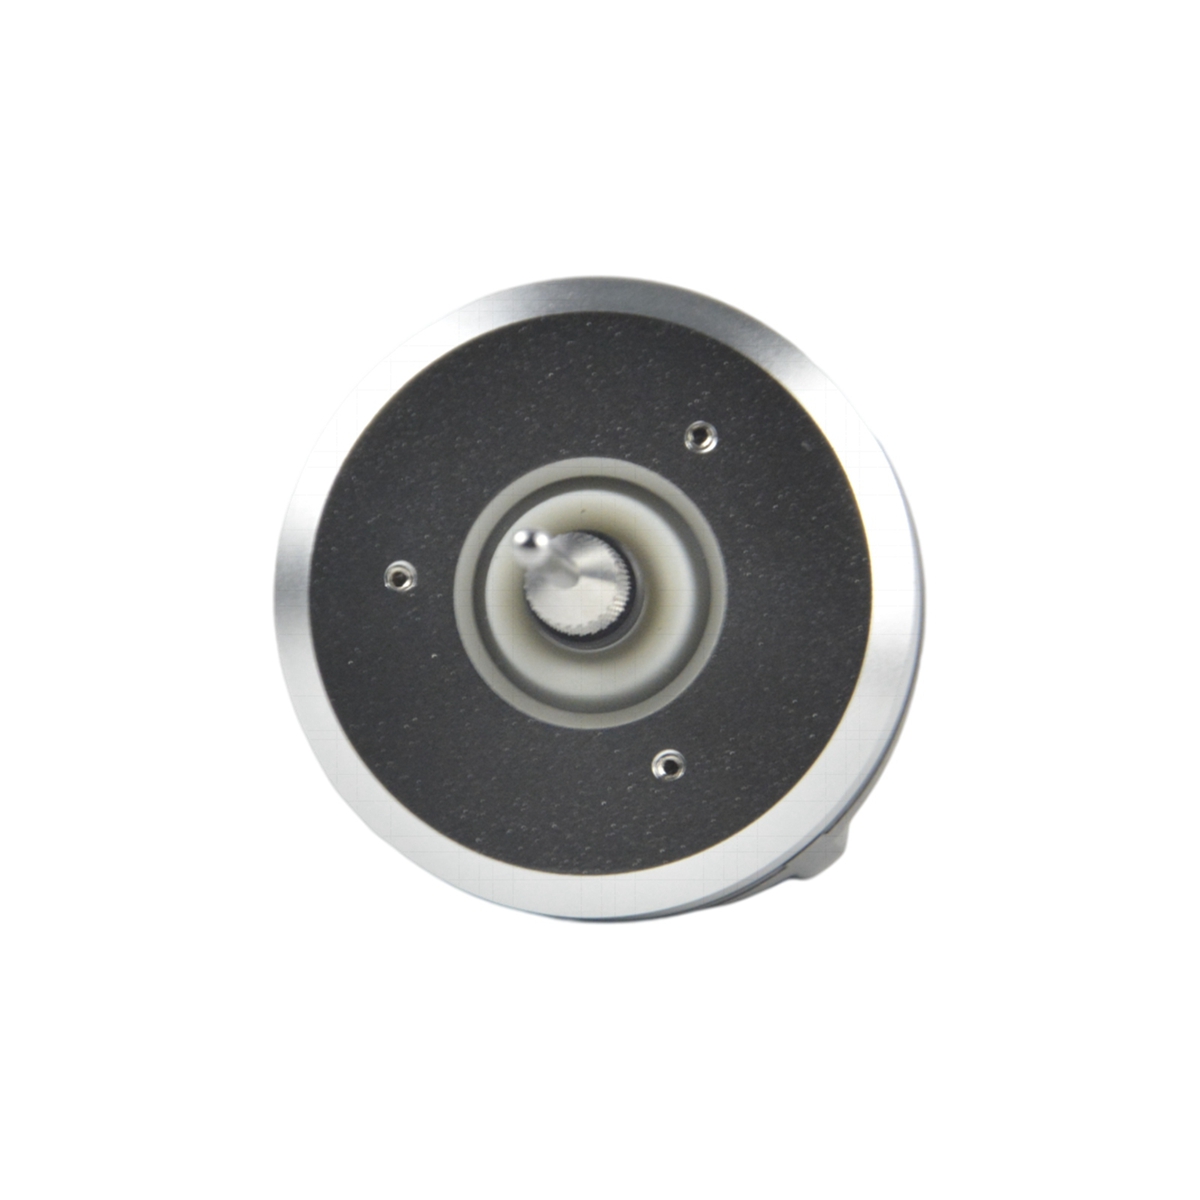
- The shell is made of fine frosted black oxidized aluminum alloy with a flat surface anti-roll design.
- It adapts to various control panels such as GRBL control panel and Mach3.
Package Included:
- 1 x 3D Touch Probe
- 1 x Storage Box
- 1 x Cable
FAQ:
Q: Need to turn on the spindle speed?
A: No.
Q: How to distinguish the three wires?
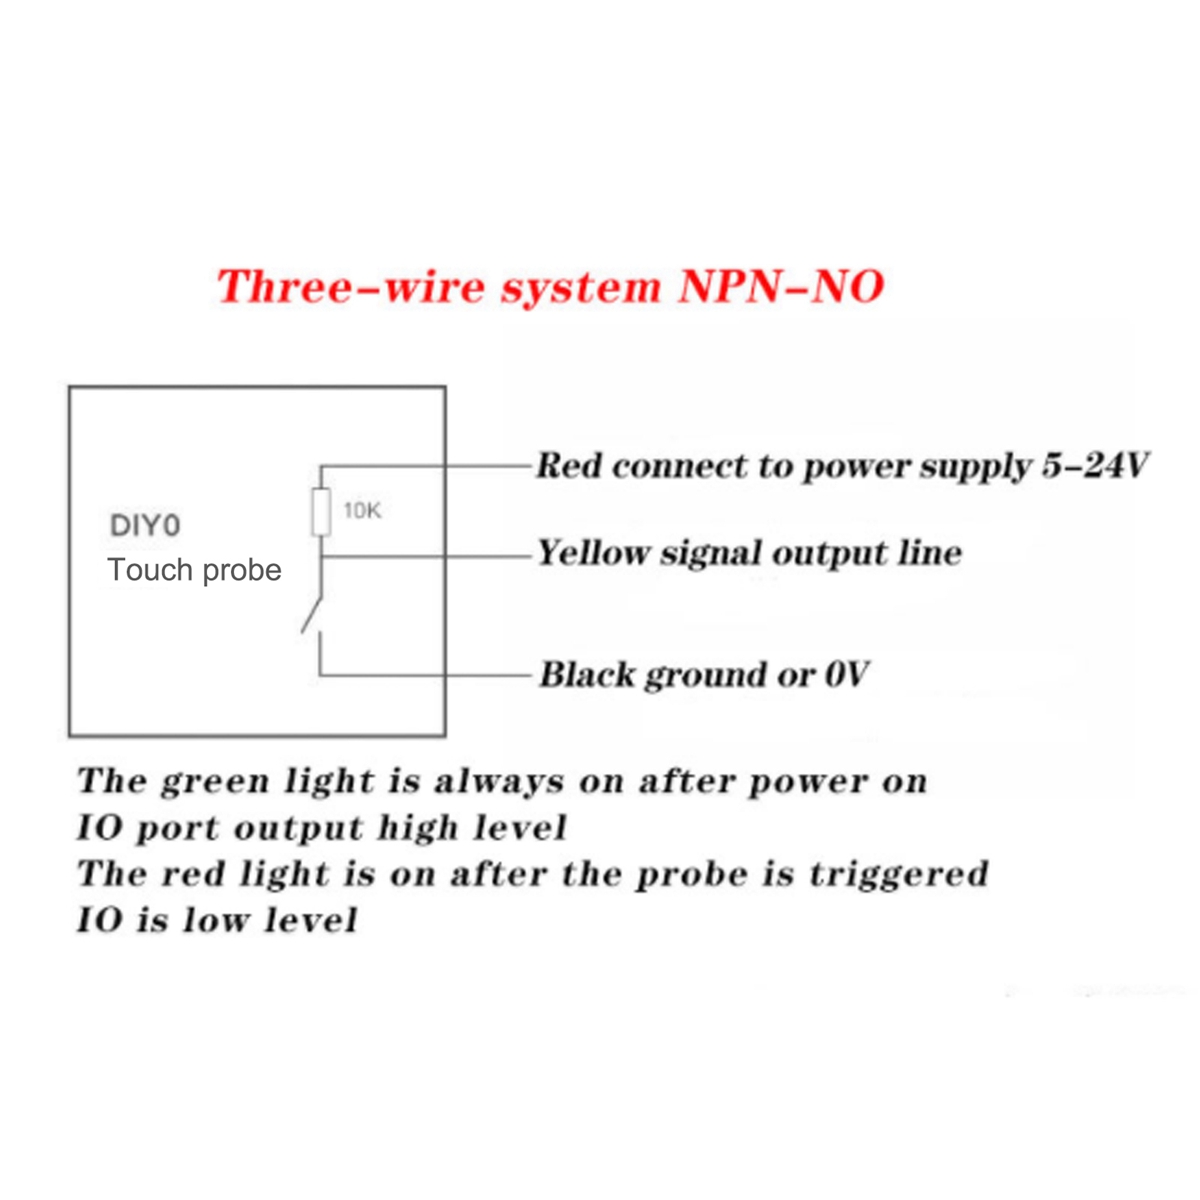
A: The red wire is VCC, the black wire is GND, and the white wire is IO.
Q: Why is the concentricity different every time the probe is installed?
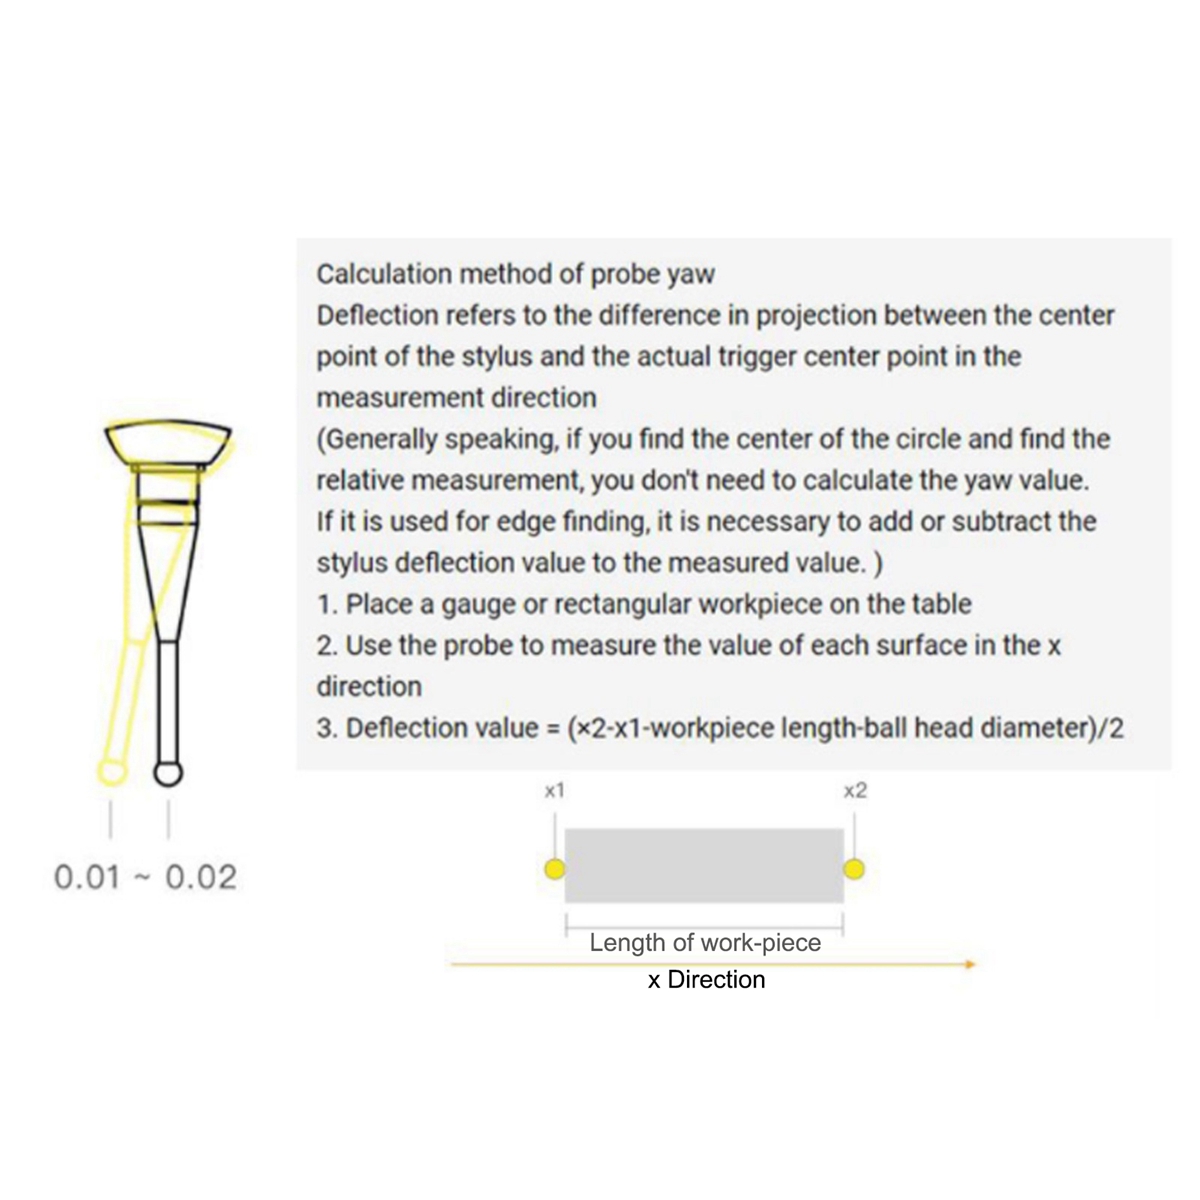
A: Because your ER chuck spring clip cannot guarantee 100% uprightness. Every time the probe is installed, even if the concentricity is adjusted to 1 wire, there will still be deviations when the probe is removed and installed again. So your chuck is best to buy AAA and above accuracy (concentricity <=0.005), because many chucks in China have false standards, it is recommended to use a high-precision gauge or tungsten steel rod to check the table after installing the chuck. Look at concentricity. It's best to place the dial indicator at a distance of 50mm from the chuck, which is roughly the distance between the ball head of our probe and the root of the tool handle.
Q: Why am I obviously an AAA chuck, and the concentricity is still poor?
A: That's because you bought a virtual label chuck. Under normal circumstances, if the spindle jumps by 0.01, the AAA chuck clamps the milling cutter and the table tool holder, the error may not exceed 0.02, and the error may not exceed 0.03 at most. There will be a slight angular deviation between the center axis of the collet chuck and the center axis of the spindle, which will be magnified by the length of your tool holder. Usually you use a calibration meter to measure the root of a milling cutter, and you can't see a big error, but because the stylus of the probe is about 50mm away from the tool holder, the error will be further magnified. Therefore, be sure to choose genuine high-precision chucks, which is nothing more than a price difference of tens of dollars.
Note:
- Please be sure to use a AAA or higher grade ER11 spring head, otherwise the concentricity of the probe cannot be guaranteed when you use.