915Mhz Head Tracking Module Head Tracker (TX RX + Gimbal) Suitable for 1:10 Scale Model Cars
Features:
- 915Mhz wireless head tracking module
- Long-distance head tracker with a built-in battery for sending and receiving
- Self-developed closed-source protocols are free of debugging
- Suitable for car models, model airplanes and FPVs
Performance Parameters:
- Frequency band: 868~915MHz
- Modulation: Lora
- Power: 22dBm
- Reference distance: >1000m/3280.8ft (Earth-to-Air), >500m/1640.4ft (Earth-to-Earth)
- Usage scenario: Vehicle-mounted, model aeroplanes and other close-range head tracking FPVs
Package Included:
- 1 x Main unit
- 1 x Transmitter module
- 1 x Receiver module
- 1 x Gimbal
Note:
- Servos are not included in the package.
Packaging Details:
- G.W.: 0.3kg
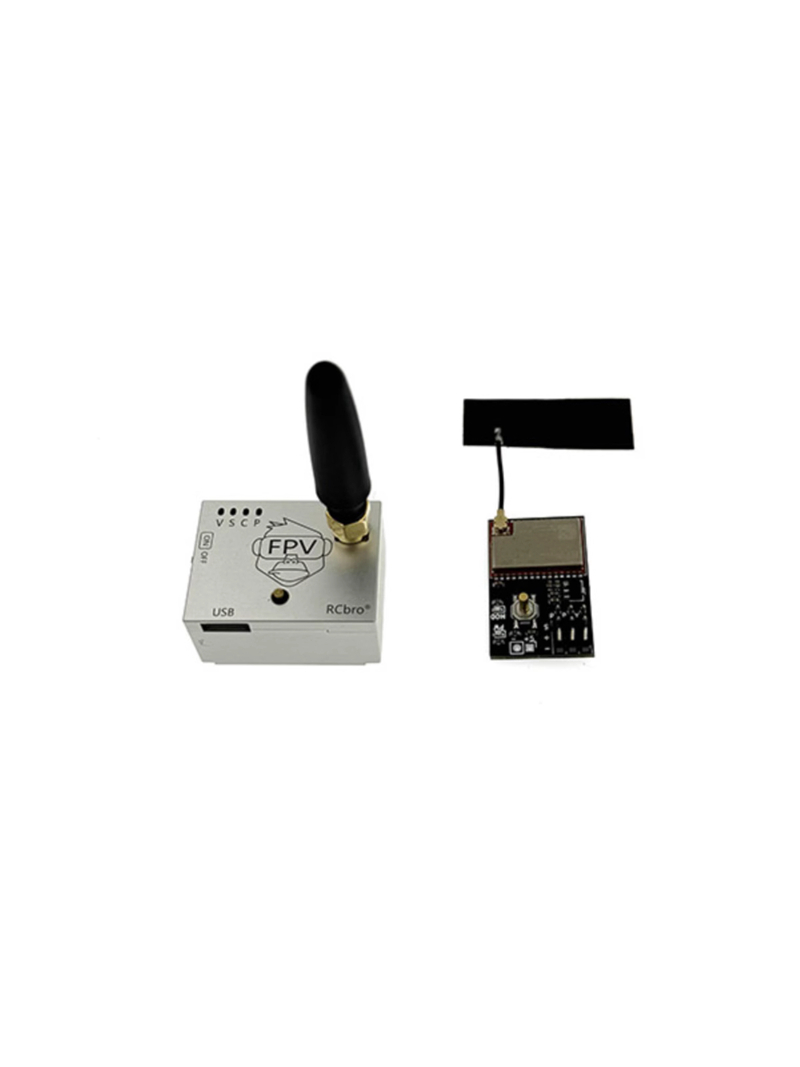
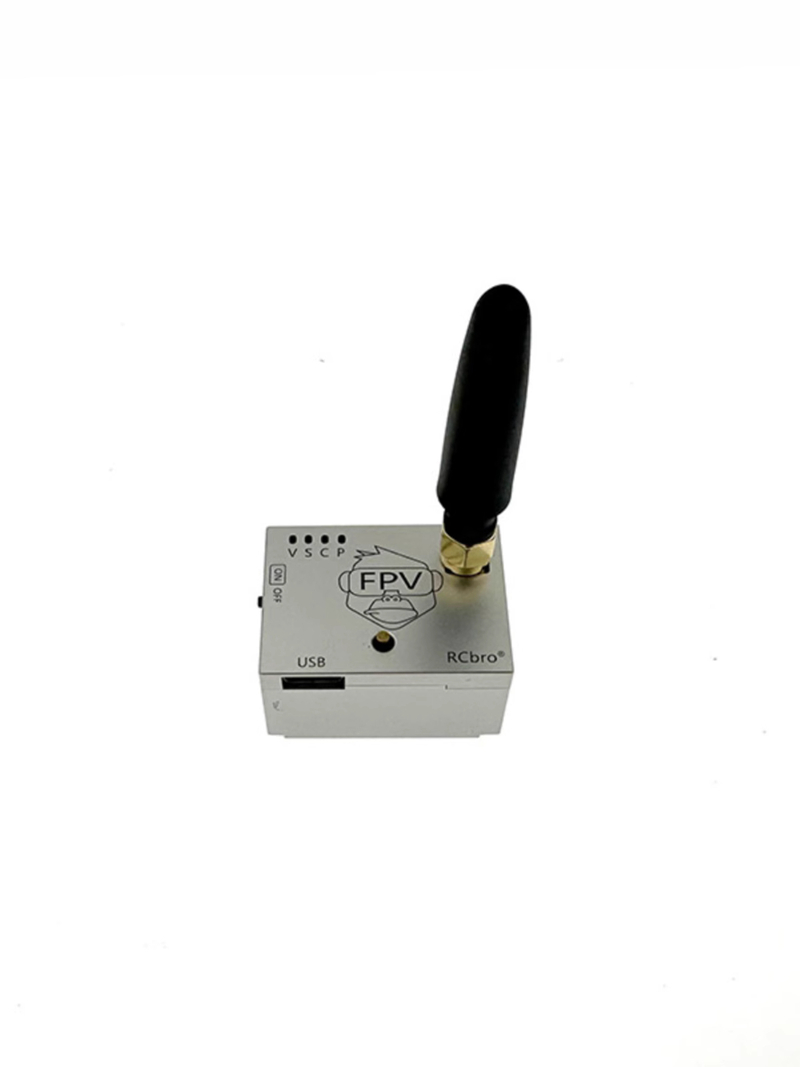
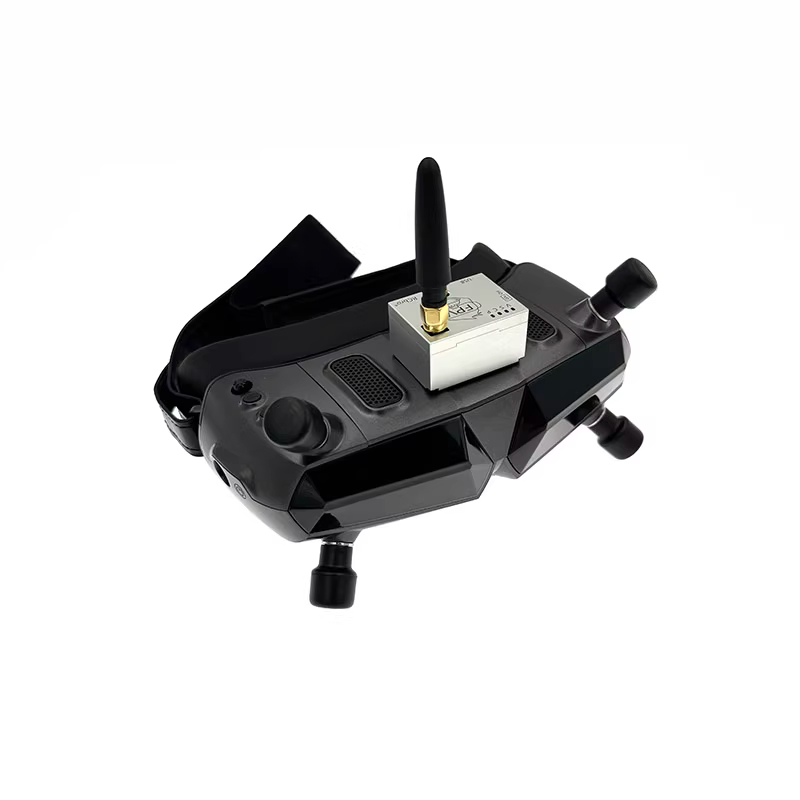
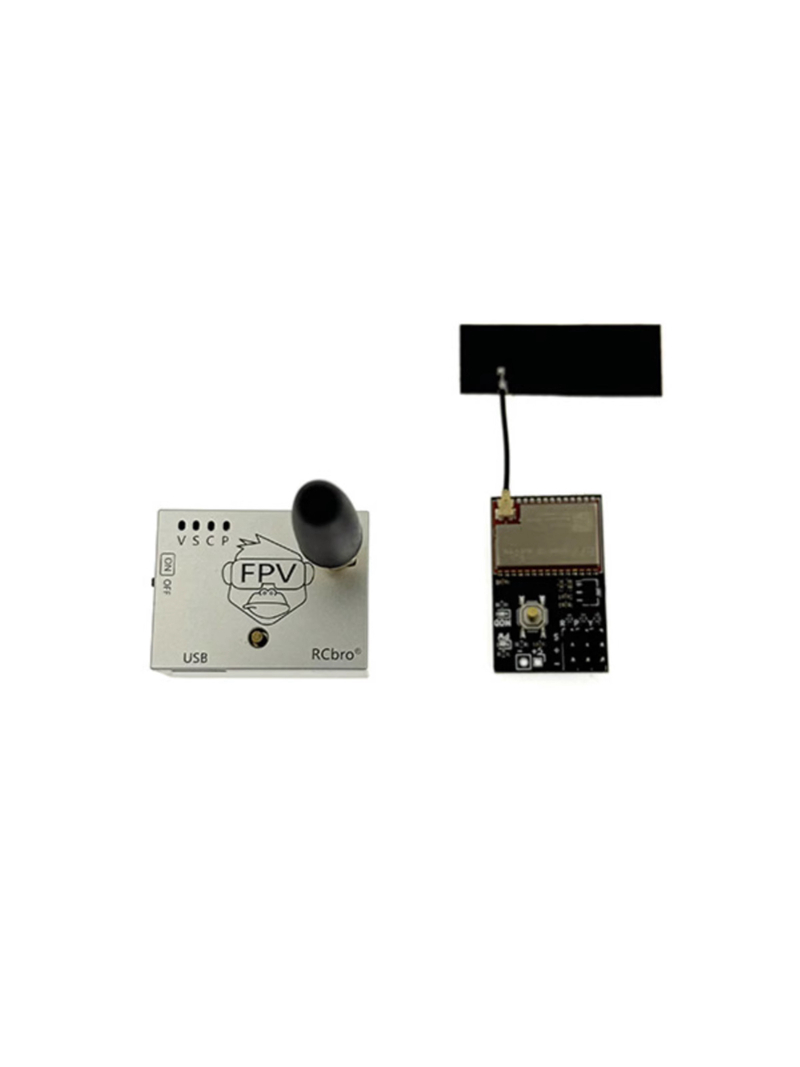
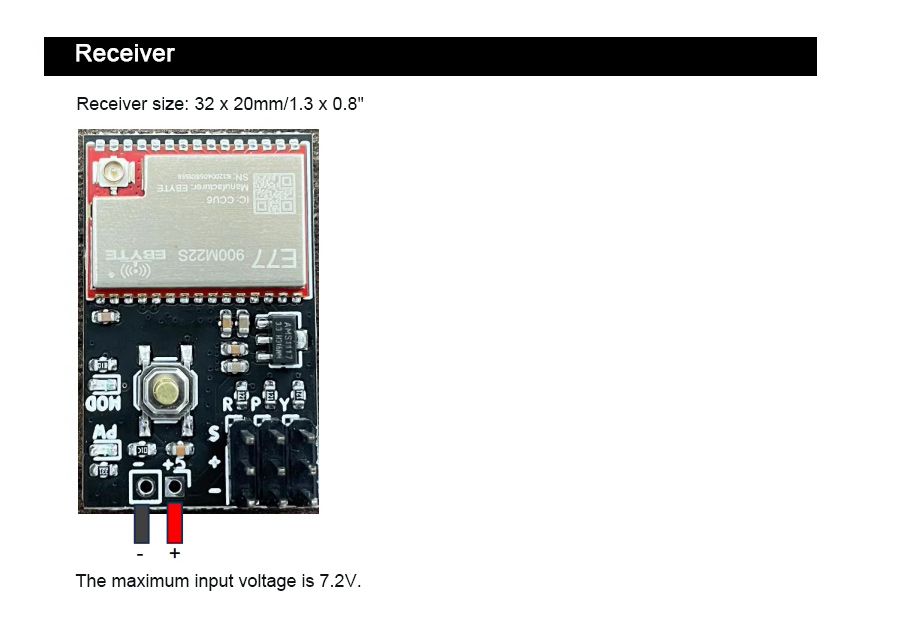 Receiver:1. Wiring:
1.1. Servo wiring
R: To roll servo (This pin can also be plugged into a 5V power supply)
P: To 270° pitch servo
Y: To 270° yaw servo
1.2. Servo selection:
- Voltage: 5V
- Angle: 270°
- Signal PWM: 500-2500us
1.3. LED Status:
- PW: Power supply indicator light. It is red
- MOD: Status indicator light. It is green
2. Frequency Matching:Step 1: Press and hold the button while powering the receiver, and the green light will flash.
Step 2: Press and hold the button while powering the transmitter. At this time the green light will flash.
Step
3: The green light of the receiver is off, indicating that the
frequency is matched, and TX and RX modules will be restarted, and the
servos can also operate at this time.
Attention: *If the servos do
not move after binding frequency, press the button once to set the
neutral position of servos and the servos can be operated.
3. Change the direction of servos: After
the power is turned on, press and hold the button, and the direction of
the pitch servo and the yaw servo will be changed once. If you find
that the direction of the servos is wrong, press and hold the button
again until the servo direction is correct. Adjust it up to 4 times to
make the servo direction correct.
4. Adjust the neutral position of servo: Step 1: Press the button once and the green light will flash.
Step 2: Adjust the direction of the transmitter until the servo position reaches the specified position.
Step 3: Press the button once, the green light will be off, and the setting will be completed at this time.
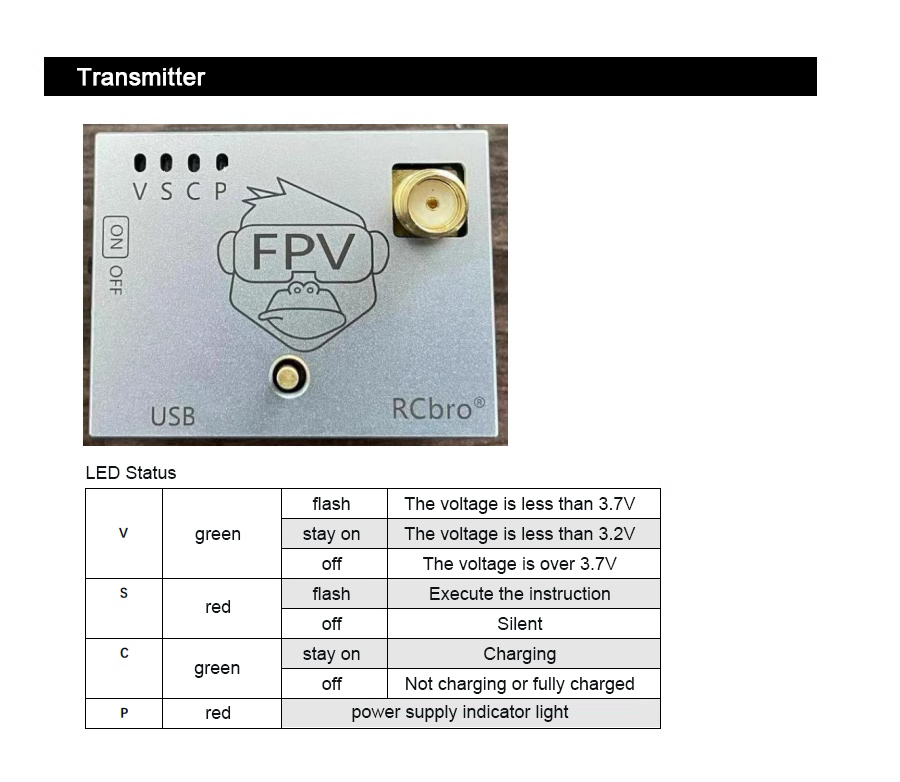
Transmitter:
1. Angle reset:When the camera angle deviates greatly from the head tracking angle, you can press the button once to reset the angle.
2. Binding frequency:Refer to the receiver frequency matching operation above.
3. Calibrate compass:- Press the button twice to enter compass calibration mode.
-
At this point, the LED 'S' red light will flash, which means that the
compass is being calibrated. At this point it needs horizontal and
vertical rotation modes, and then wait for the LED 'S' to turn off, that
is, the calibration is complete.
4. Charge:- The
maximum charging current is about 400mA. Please make sure that someone
is present when it is being charged to ensure that it is safe to charge.
The maximum charging voltage is 5V. When fully charged, it can be used
continuously for about 5 hours.
- The LED 'C' will turn off when it is fully charged. The LED 'C' will light up during charging.
- Note: It is forbidden to charge while using!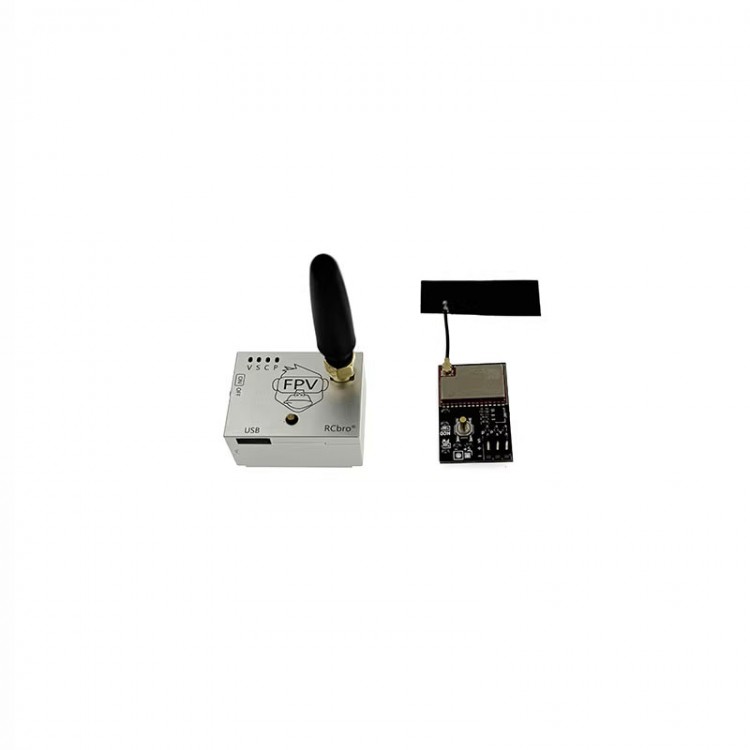
 Diesel Engine Model (Metal Version) Physical and Mechanical Laboratory Equipment Teaching Aid
$98.06
 Gasoline Engine Model (Metal Version) Physical and Mechanical Laboratory Equipment Teaching Aid
$98.06
 900Mhz 30W Anti-drone Module Anti-UAV Module Power Amplifier GaN Module Counter-drone Solution
$95.38


