| Quantity | 3+ units | 10+ units | 30+ units | 50+ units | More |
|---|---|---|---|---|---|
| Price /Unit | $125.54 | $122.98 | $119.13 | $114.01 | Contact US |
 YK-1000H International Version NTP Server Network Time Server Support Time Zone Selection with 10m Antenna for GPS Beidou
$94.46
 MA-902 Gigabit Network Time Server Support Multi-mode Satellite (1 Gigabit Port + 30m Mushroom Antenna + Rubidium Atomic Clock)
$3,121.62
 IPC-9900 Pro IPC Tester 8K IP Camera Tester WiFi Analyzer 8K H.265 Camera Debugging Smart IPC Support Mobile Remote Control
$276.24
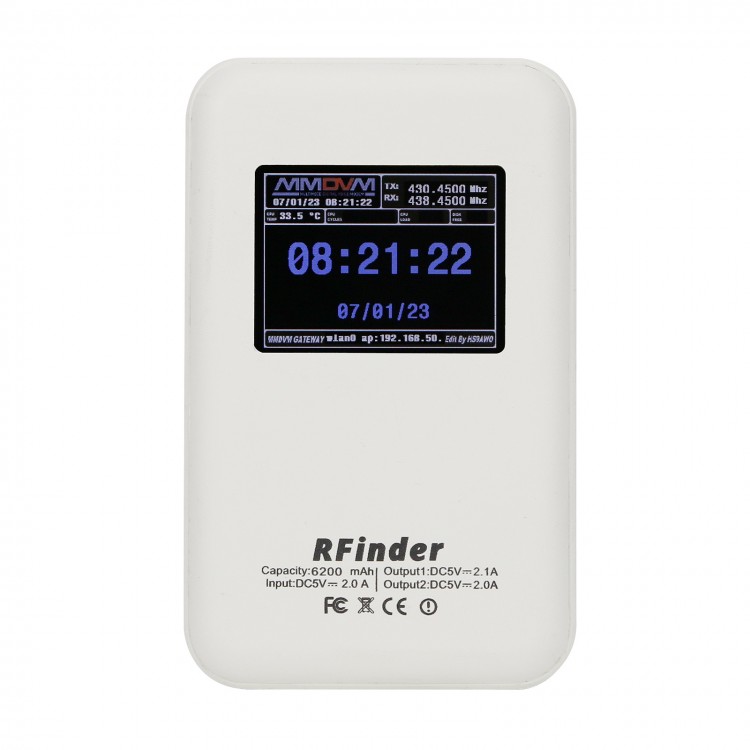
Duplex MMDVM UHF VHF MMDVM Hotspot with NanoPi Duo2 Shell Supporting for Pi-Star/C4FM/DMR/DSTAR P25
Description:
It is a MMDVM hotspot digital networking box. Display firmware has been updated. Imported temperature-compensated crystal oscillators in DMR format with zero frequency offset and duplex dual time slots are used. It is for Pi-Star, C4FM, DMR, DSTAR P25 and other digital formats. It solves inconsistency in digital intercom mechanism, enabling multi-digital system intercommunication. Using mobile phone hotspot network or WiFi network to connect to the Internet, it meets your dream of connecting with HAMs around the world.
Its board adopts quad-core A7 processor H3 (for Allwinner) with 512M DDR3 memory. There is an on-board WiFi Bluetooth module, and it can also generate a Pi-star hotspot by itself without configuring a WIFI account.
Introduction of NanoPi Duo2:
NanoPi Duo2 is small and exquisite, with rich interfaces. It can be powered by MicroUSB. It supports MicroSD card to boot the running system and can be inserted into a breadboard. Its pin headers leads to a wealth of hardware resources, including 10/100M Ethernet, USB, SPI, UART, I2C, PWM, IR, and audio. This is very convenient for debugging development.
NanoPi Duo2 supports the use of Wiring NP, Python and other programming libraries. It is completely open-source.
Package Included:
- 1 x MMDVM Hotspot
WiFi Settings when MMDVM is Started for the First Time:
I. Connect to Automatic AP Hotspot:
1. The hotspot is powered on.
2.
Wait for Pi-Star to start. It usually takes about a minute (it will
take longer if you use Pi0W). If your hotspot has a screen display, you
can watch Pi-Star start up until the login prompt appears.
3. Wait 2 minutes for the Auto AP function to activate.
4.
Check the hotspot named "Pi-Star-Setup" on your computer or mobile
phone, and connect. WiFi hotspot: Pi-Star-Setup; password: raspberry
II. Log in to the Pi-Star Page:
1.
After the connection is successful, users for Windows visit:
http://pi-star. Users for macOS, iOS or other (tablet for Windows 10)
visit: http://pi‐star.local. Mobile device access: 192.168.50.1
2.
The first time you start Pi-Star, you will see a page that displays "No
Mode Defined...". Click Configuration, or wait 10 seconds to be
redirected to the configuration page
3.
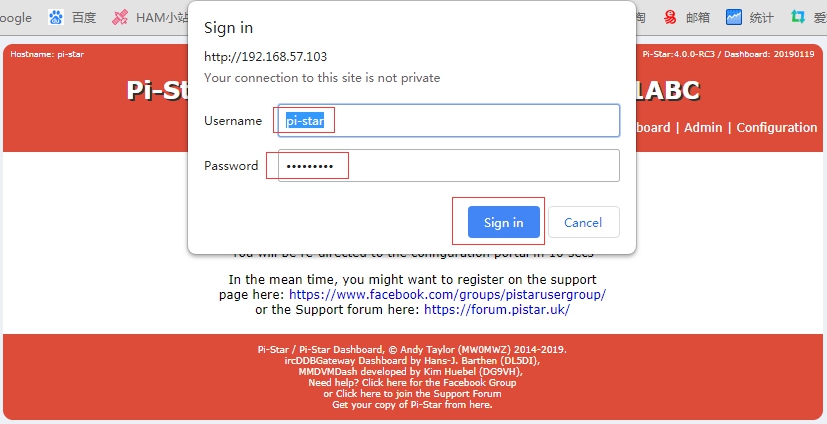
Enter the configuration page and enter the account password to log in
to the Pi-Star page. Default username: pi-star; password: raspberry
III. Add Personal WiFi Connection:
1. After entering the configuration page, scroll to the "wireless configuration section" and click Configure WiFi
2. Select your country code, click Scan for Netwroks (10 secs) to start searching for WiFi, and wait 10 seconds.
3. If there is no WiFi you want to add in the search results, you can add it manually.
4.
When the hotspot is restarted, it will be connected to the set personal
WiFi. Visit Pi-Star in the browser for other configurations.