| Quantity | 3+ units | 10+ units | 30+ units | 50+ units | More |
|---|---|---|---|---|---|
| Price /Unit | $15.51 | $15.20 | $14.72 | $14.09 | Contact US |
 0-10V/0-25mA 4-Channel Current Voltage Signal Generator Brightness Adjustable LED Signal Collector with 35MM DIN-Rail Base
$20.52
 0-10V/0-25mA 4-Channel Current Voltage Signal Generator Module Brightness Adjustable LED Signal Collector
$18.57
 Automobile Crank Shaft Synchronization Signal Simulator Module 6-Channel Output Signal Generator Module with LED Display
$64.45
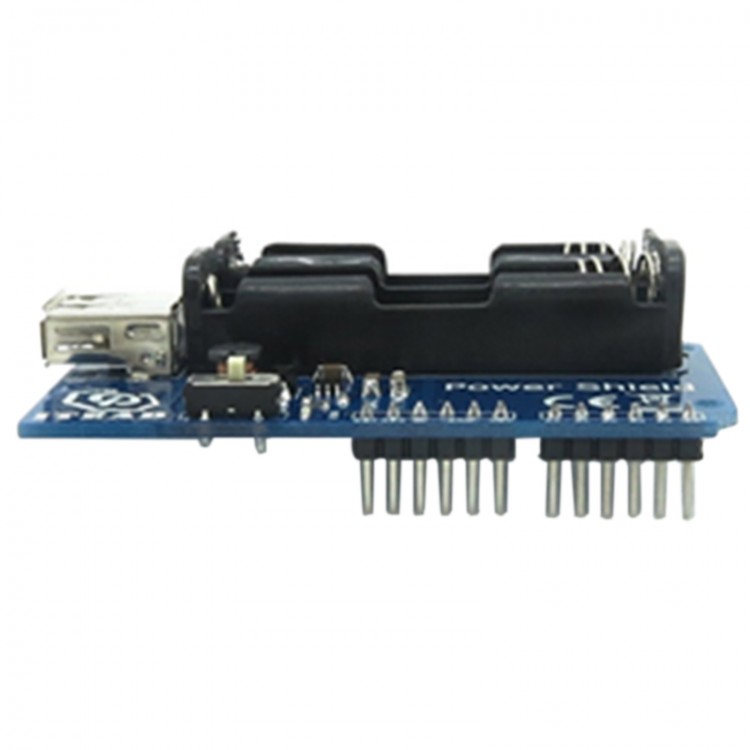
itead Arduino Power Expansion Board Module Power Shield 5V 350mA Battery Power Supply for DIY
Description:
This board voltage can change the voltage from 3V to 5V, comes with on/ off switch. And there is a USB A interface which can supply power to USB devices.
Specification:
- Power: 5V
- Current: 350mA
- PCB: 55.88*68.58*1.6 (mm)
Here is an example for making body infared sense light and add the power supply to the board:
The accessories : AAA#7 battery*2; 3Pin Dupont cable*2; PIR; LED;iteadduino UNO; itead power development board; long foot female header.
Because the UNO is the one that leads out the sensor, the I/O development board is unnecessory.If you use the official one, the the I/O development board is necessory.
Code:
int LED = 13;
int PIR = 9;
int val = 0;
void setup()
{
pinMode(LED, OUTPUT);
pinMode(PIR, INPUT);
digitalWrite(LED,HIGH);
Serial.begin(9600);
}
void loop()
{
val = digitalRead(PIR);
if(HIGH == val)
{
digitalWrite(LED,HIGH);
delay(10);
}
else
{digitalWrite(LED,LOW);
delay(10);
}
}
Hardware:
1. Connect PIR sensor to D9 o fUNO, connect LED to D13 pin. S~S +~V -~G
2.Add the demale header to the UNO board
3. Add the Power development board, put in the battery and turn on the switch of the board
4. Can stick the board to anywhere you want.
Video: Click here
Package included:
- 1 x Power Expansion Board