| Quantity | 3+ units | 10+ units | 30+ units | 50+ units | More |
|---|---|---|---|---|---|
| Price /Unit | $112.52 | $110.23 | $106.78 | $102.19 | Contact US |
 SF-HC30A3 Flame Plasma Dual-purpose Torch Height Controller Plasma THC for CNC Plasma Cutting Machines
$362.59
 CM600 6-Axis CNC Motion Controller Board DC24V 24 Inputs and 18 Outputs with Display for CNC 3D Real-time Motion Tracking
$956.76
 CM400 4-Axis CNC Motion Controller Board DC24V 16 Inputs and 12 Outputs with Display for CNC 3D Real-time Motion Tracking
$490.36
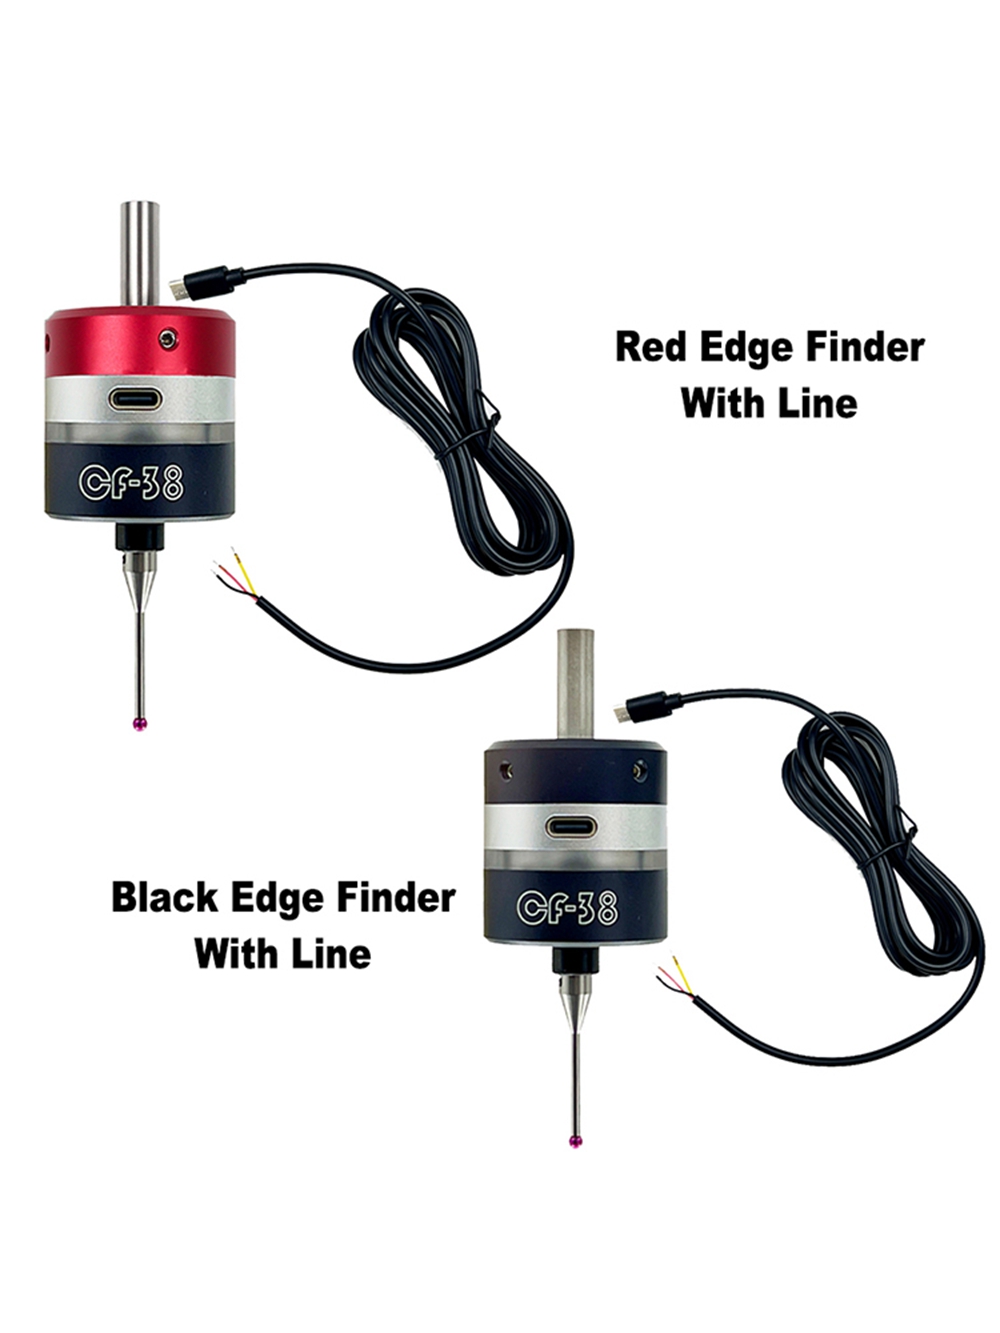
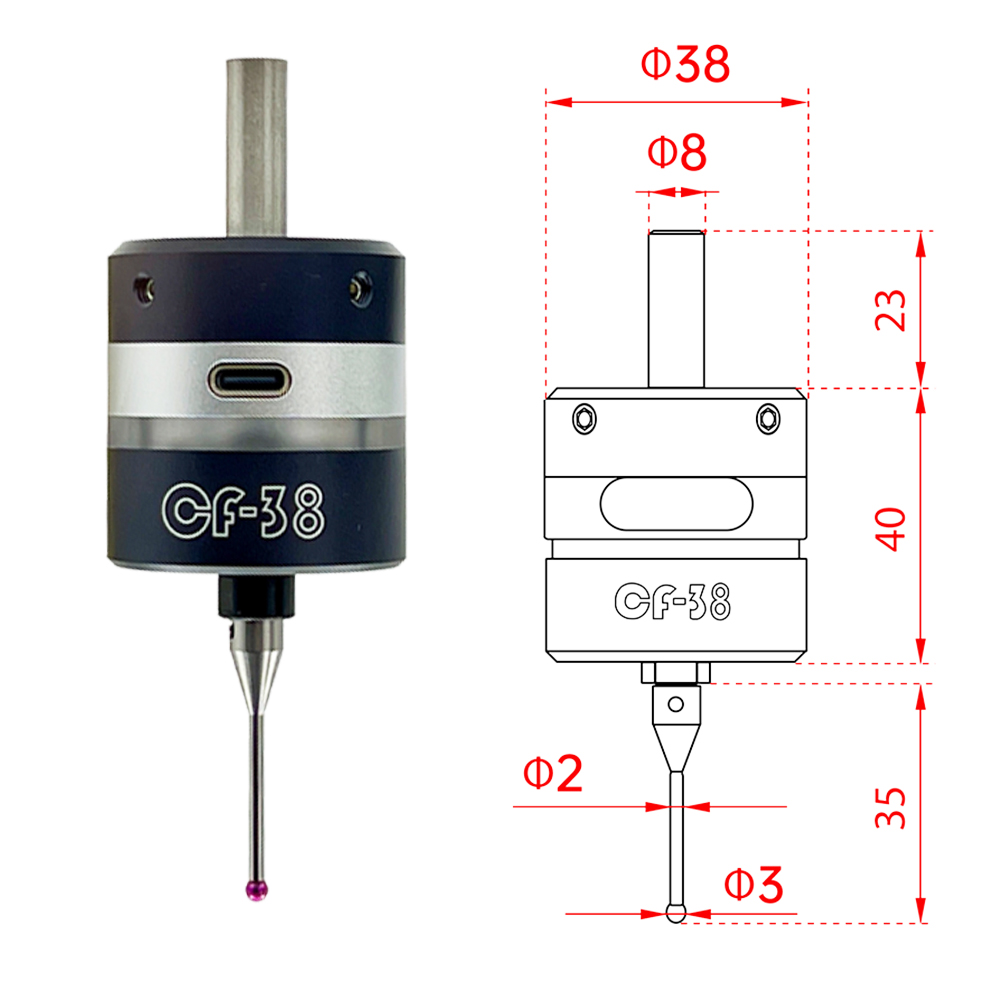
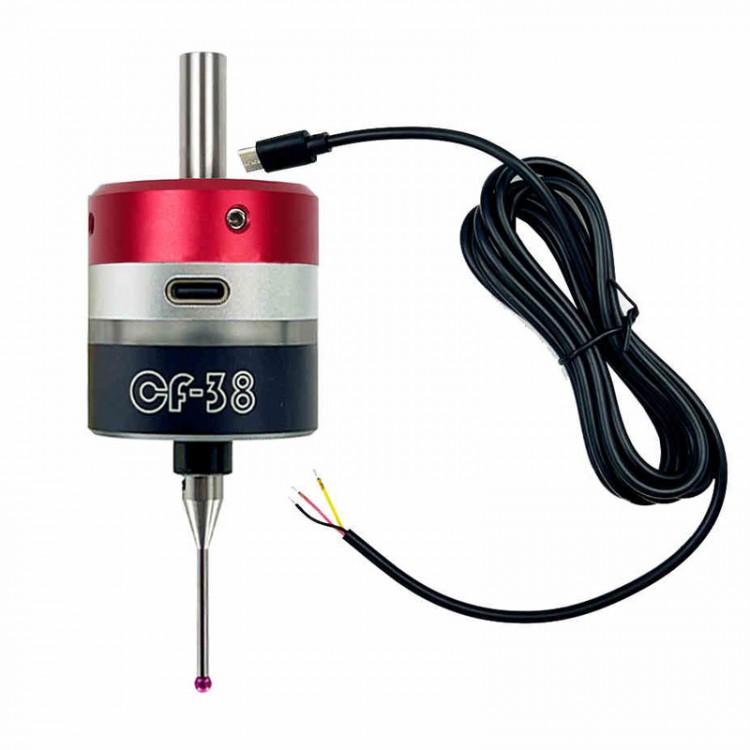
Red CF-38 Trigger Type 3D Edge Finder with Line DC5-24V High Precision Edge Finder for CNC Machine
Description:
- Compatibility: Seamlessly integrates with mach3 and grbl, enhancing the functionality of your CNC machine.
- Easy to use: No spindle speed adjustment needed; plug and play for efficient CNC machine setup.
- Durable construction: Withstand ≤3 million trigger life cycles, ensuring long-lasting performance in your CNC workflow.
- Versatile probe direction: Explore ±X ±Y +Z probe direction for comprehensive inspection in various CNC operations.
- High precision repeatability: Achieve precise measurements with ≥0.005 repeat positioning accuracy for consistent results.
Precaution:
- Adjust the concentricity to within 0.05 before shipment, and measure and adjust it yourself after receiving it. Attention: Please make sure to use ER11 spring clamps of AAA or higher grade, otherwise the concentricity of the measuring head cannot be guaranteed during use. (Even if we adjust the concentricity of the ordinary spring chuck with our measuring head installed, the concentricity will still deviate when we remove the measuring head and reinstall it.)
Package Included:
- 1 x 3D Edge Finder with Line
FAQ:
Q: Do I need to turn on the spindle speed?
A: No.
Q: How to distinguish the three wires?
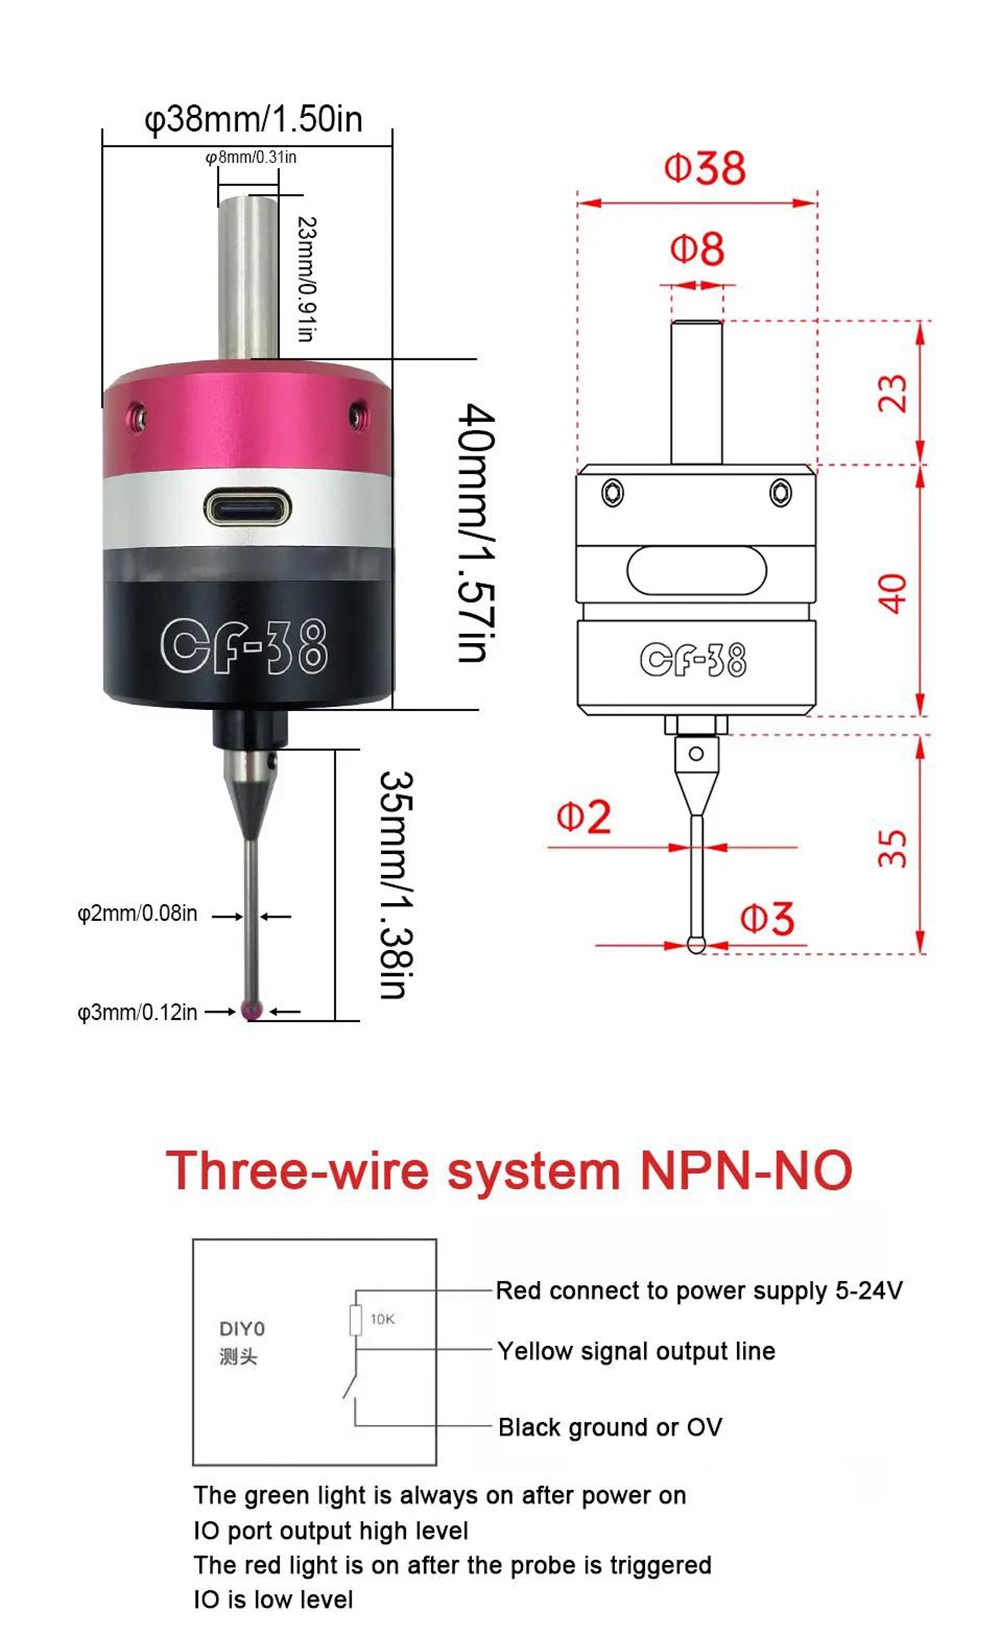
A: The red line is VCC5-24V, the black line is GND, and the yellow line is the IO signal line.
Q: Why is the concentricity of the probe different every time it is installed?
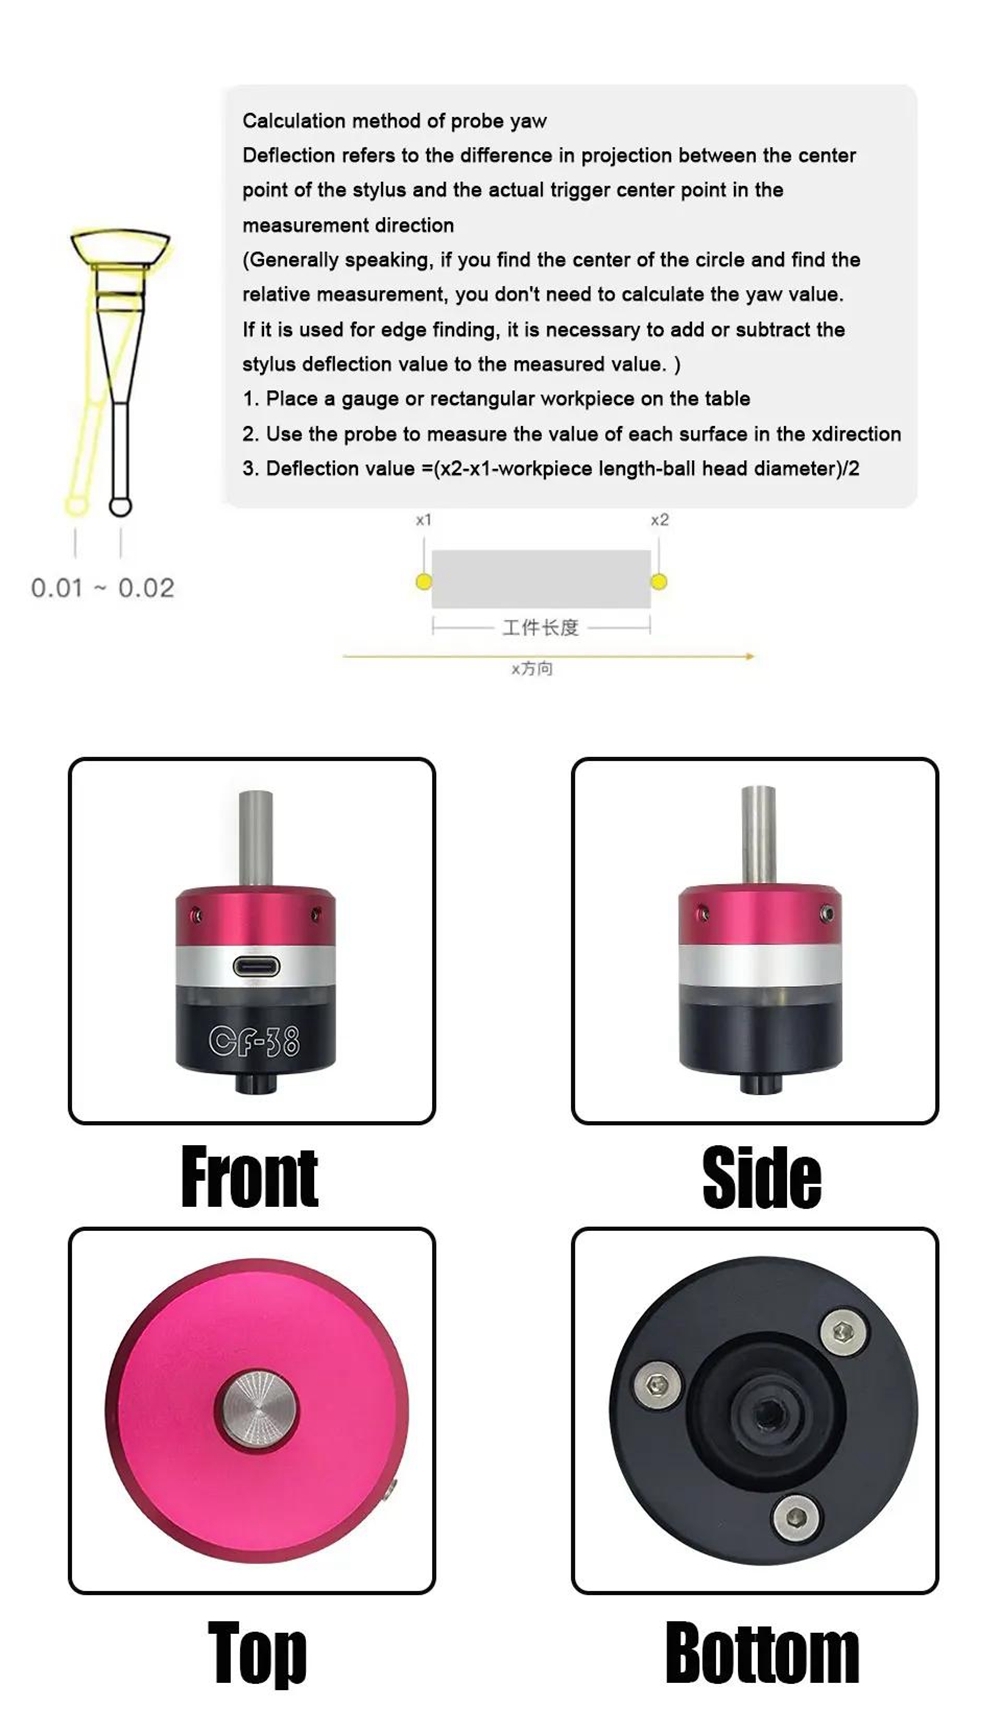
A: Because your ER chuck spring clip cannot guarantee 100% verticality. Every time the probe is installed, even if the concentricity is adjusted to 0.01mm, there will still be deviation when the probe is removed and reinstalled. So it's best to buy a chuck with AAA or higher precision (concentricity <=0.005), because many chucks have false standards. It is recommended to use high-precision gauges or tungsten steel bars to check the table after installing the chuck. Look at the concentricity. It is best to place the dial gauge at a distance of 50mm from the chuck, which is approximately the distance from the ball head of our measuring head to the root of the tool handle.
Q: Why is the concentricity still poor even though using an AAA chuck?
A: That's because you bought a virtual label chuck. In general, if the spindle runout is 0.01 and the AAA chuck clamps the milling cutter and worktable holder, the error should not exceed 0.02, and the maximum error should not exceed 0.03. There will be a slight angular deviation between the central axis of the chuck and the central axis of the spindle, which will be amplified by the length of the tool holder. Usually, when you measure the root of a milling cutter with a calibrator, you won't see a significant error, but due to the distance between the probe and the tool holder being about 50mm, the error will be further amplified. So, it is essential to choose genuine high-precision chucks.
