| Quantity | 3+ units | 10+ units | 30+ units | 50+ units | More |
|---|---|---|---|---|---|
| Price /Unit | $46.45 | $45.50 | $44.08 | $42.19 | Contact US |
 LPMS-BE2 DK232 6-Axis IMU Sensor Miniature Inertial Measurement Unit (LPMS-BE2 OEM + LPMS-BE1 DKN)
$60.02
 LPMS-IG1 CAN 9-Axis IMU Sensor Inertial Measurement Unit IP68 Waterproof with M12 Connector (5-36V)
$356.84
 1087pcs Metal Bull Model Kit DIY Mechanical Bull Animal Model Assembly Kit for Adults Teenagers
$110.42
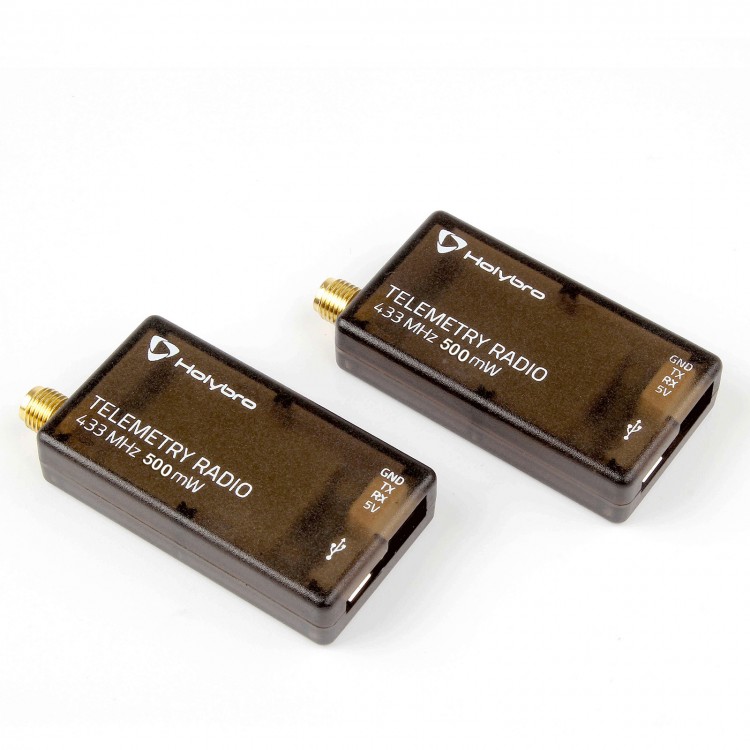
Transceiver Telemetry Radio Kit V3 500mW 433Mhz Module for DIY RC drone PIXHawk
A Telemetry Radio is a small, light and inexpensive open source radio platform that typically allows ranges of better than 300m "out of the box" (the range can be extended to several kilometers with the use of a patch antenna on the ground). The radio uses open source firmware which has been specially designed to work well with MAVLink packets and to be integrated with the Mission Planner, Copter, Rover and Plane. The radios can be 433Mhz and you should purchase the model which is appropriate for your country/region.
Processing:
100mW maximum output power (adjustable) -117dBm receive sensitivity
Open-source SIK firmware
RP-SMA connector
2-way full-duplex communication through adaptive TDM UART interface
Transparent serial link
MAVLink protocol framing
Frequency Hopping Spread Spectrum (FHSS) Configurable duty cycle
Error correction corrects up to 25% of bit errors Open-source SIK firmware
Configurable through Mission Planner & APM Planner
FT230X is a USB to BASIC UART IC
Features
- Interchangeable air and ground modules 433 MHZ
- Micro-USB port
- 4-position JST-GH connector
Specifications:
- Item name: Telemetry Radio Kit
- Power: 500mW
- Supply voltage: 5V DC (from USB or JST-GH)
- Transmit current: 100mA at 20dBm
- Receive current: 25mA
- Serial interface: 3.3 V UART
- Size: 26 x 53 x 10.7 mm (without antenna)
- Gross weight: 0.12kg
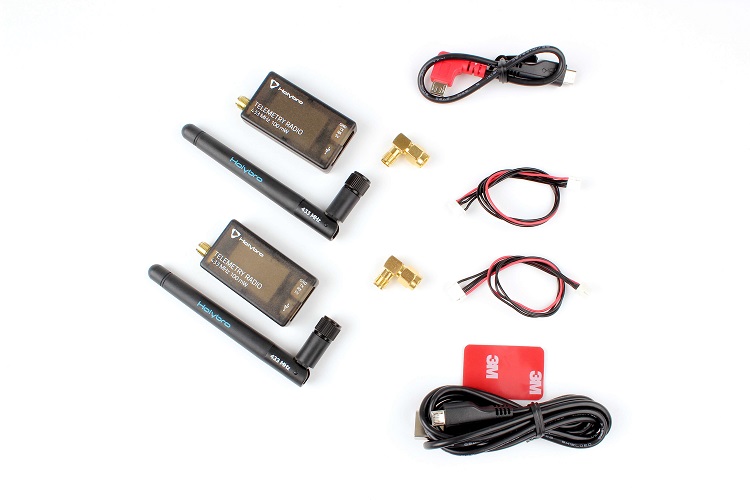
Package included:
- 2 x radio modules with antennas
- 1 x Micro-USB cable
- 1 x Android OTG adapter cable
- 1 x GH 6P-GH 4P cable
- 1 x MLX 6P-GH 4P cable
- 2 x SMA Adapters
LEDs Status
The radios have 2 status LEDs, one red and one green. The meaning of the different LED states is:
- Green LED blinking - searching for another radio
- Green LED solid - link is established with another radio
- Red LED flashing - transmitting data
- Red LED solid - in firmware update mode
Connecting to Pixhawk4
- Use the 4 pin JST-GH connector that should have come with the radio to connect the radio to your Pixhawk4's "Telem 1" ("Telem 2"can also be used but the default recommendation is "Telem1").
Connecting to a PC
- Connecting the radio to your Windows PC is as simple as connecting the micro USB cable (which should have been included with the radio) to your PC. The necessary drivers should be installed automatically and the radio will appear as a new "USB Serial Port "in the Windows Device Manager under Ports (COM & LPT). The Mission Planner's COM Port selection drop-down should also contain the same new COM port.
